Dual-Boot Windows and Linux: The 7 Essential Steps to Avoid a Disastrous Install
On This Page
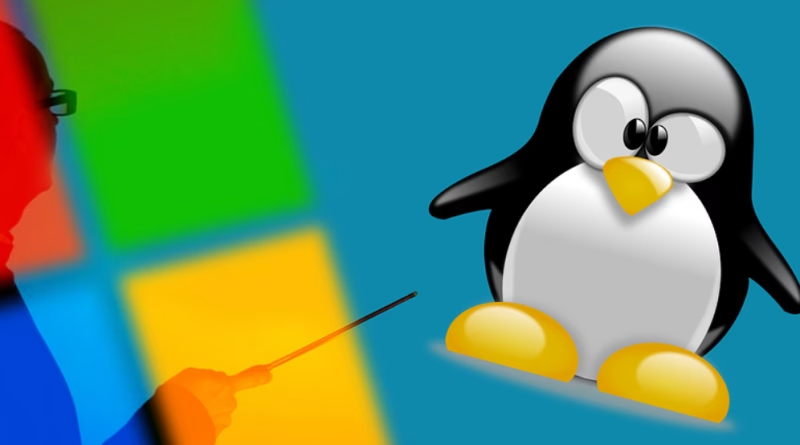
Learning how to dual-boot Windows and Linux is a rite of passage for many tech enthusiasts, and it’s one of the best ways to get the most out of your PC. It allows you to install both operating systems on a single machine and choose which one you want to use every time you turn on your computer. This gives you the best of both worlds: the massive software and gaming compatibility of Windows, combined with the power, security, and customization of a Linux distribution like Ubuntu or Mint.
While it might sound complex, the process is surprisingly straightforward if you follow the steps carefully. This guide will walk you through setting up your first dual-boot system.
Before You Begin: The Critical Prep Work
WARNING: You will be modifying your hard drive’s partitions. While this is a safe process when done correctly, there is always a small risk of data loss if something goes wrong.
- Back Up Your Data: This is not optional. Before you do anything else, perform a full backup of all your important files from your Windows installation to an external hard drive.
- Choose Your Linux Distro: For beginners, a user-friendly distribution like Ubuntu, Linux Mint, or Pop!_OS is highly recommended. Go to their official website and download the latest “ISO” file.
- Get a Blank USB Drive: You will need a blank USB drive with at least 8GB of storage. This will be erased, so make sure there’s nothing important on it.
Step 1: Create Space for Linux on Your Hard Drive
Your first step is to shrink your existing Windows partition to make room for your new Linux installation.
- In Windows, right-click the Start button and select “Disk Management.”
- You will see a graphical representation of your hard drive. Your main drive is likely the “C:” drive.
- Right-click on the Windows partition (C:) and select “Shrink Volume.”
- You’ll be asked how much space to shrink. This is the amount of space you will be dedicating to Linux. A good starting point is at least 50,000 MB (which is 50GB), but 100GB or more is better if you have the space.
- After you shrink the volume, you will see a new block of “Unallocated” space. This is perfect. This is where we will install Linux.

Step 2: Create a Bootable USB Drive
Now, you need to turn the Linux ISO file you downloaded into a bootable installer on your USB drive.
- Download a free tool called Rufus or BalenaEtcher.
- Open the tool, select the Linux ISO file you downloaded, and select your blank USB drive as the target.
- Click “Start” or “Flash!” and let the process complete. You now have a Linux installer.
A Guide to Setting Up Your Dual-Boot System
With your bootable USB created, it’s time for the installation.
- Boot from the USB Drive: Plug the USB drive into your PC. You will need to restart your computer and enter the “Boot Menu” to tell it to boot from the USB drive instead of your main hard drive. (The key to press during startup varies by manufacturer, but it’s often F12, F10, or Esc).
- Start the Linux Installer: Once you boot from the USB, you will be in a live Linux environment. You can try it out first. When you’re ready, click the “Install” icon on the desktop.
- The Installation Type: This is the most important step. The installer will eventually reach a screen that asks “Installation type.” It should detect that you already have Windows installed. Choose the option that says “Install alongside Windows Boot Manager” or “Install alongside Windows.”
- Confirm the Partition: The installer will show you a slider that lets you confirm the partition you created in Step 1. Simply confirm the allocation and click “Install Now.”
- The installer will handle partitioning and installation automatically. It will place Linux in the free space you created, leaving your Windows installation untouched.
Step 4: The GRUB Bootloader
Once the installation is complete and you restart your computer, you will be greeted by a new menu before Windows starts. This is the GRUB bootloader. It will give you a choice: you can select your Linux distribution to boot into it, or you can select the Windows Boot Manager to load into Windows.
Congratulations! You have successfully set up your system to dual-boot Windows and Linux. You now have a powerful and versatile machine, ready for any task, from high-end gaming in Windows to programming and development in Linux.