The Ultimate Guide to Setting Up a Dual Monitor Workspace
If you spend your workday on a computer, you’re constantly juggling windows—your email on one side, a spreadsheet on the other, a web browser in the background. Constantly switching between these cramped windows is a drain on your focus and your productivity.
The solution is simple and transformative: adding a second monitor.
A dual monitor setup is, without a doubt, the single greatest productivity booster for a desk-based professional. It doubles your digital workspace, allowing you to dedicate one screen for your primary task and another for communication, research, or reference materials. It’s a game-changer.
Setting it up is easier than you think. Here is our ultimate guide to creating the perfect dual monitor workspace.
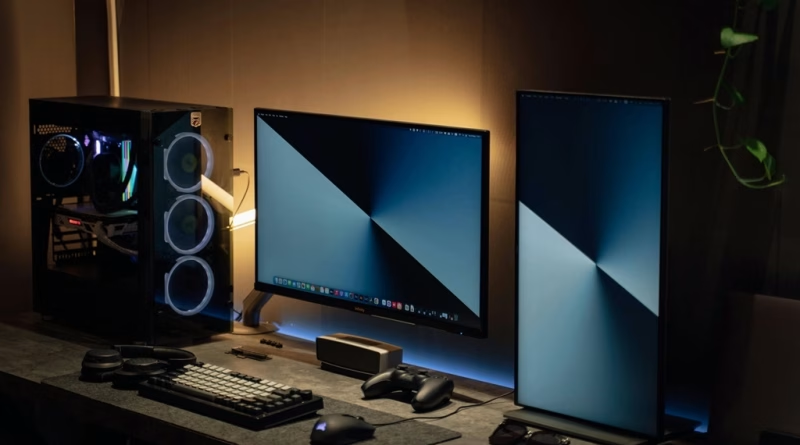
Step 1: The Hardware – Choosing Your Monitors and Mount
- Choosing Your Monitors: The best setup for most people is to have two identical monitors. This ensures consistent color, brightness, and resolution across your entire workspace. For a standard desk, two 24-inch or 27-inch monitors are a great choice. Look for models with a resolution of at least 1440p (QHD) and thin bezels for a more seamless look.
- The Secret Weapon (A Monitor Arm): Ditch the clunky stands that come with your monitors. A dual monitor arm is the key to a clean, ergonomic, and flexible setup. These arms clamp to the back of your desk and allow you to float your monitors at the perfect height and angle, freeing up a massive amount of desk space underneath.
Step 2: Making the Connection – Understanding Your Ports
This is the part that trips most people up, but it’s straightforward once you know what to look for. Your computer will have several types of video output ports.
- For Desktop PCs: Your graphics card will likely have multiple DisplayPort and HDMI outputs. The best method is to connect each monitor to a separate DisplayPort output on your graphics card.
- For Laptops (The Docking Station is Your Best Friend): Most modern laptops, especially thin-and-lights, only have one or two USB-C / Thunderbolt ports. To connect two external monitors, you will likely need a docking station or a USB-C hub. You plug a single cable from the hub into your laptop, and then plug both monitors into the video ports (HDMI or DisplayPort) on the hub. This is the cleanest and most efficient way to manage your connections.
Step 3: The Software Setup
Once everything is plugged in, you just need to tell your computer how to use the second screen.
On Windows 11:
- Right-click on your desktop and select “Display settings.”
- Windows should automatically detect both monitors. You’ll see two boxes, labeled 1 and 2. You can drag these boxes around to match the physical layout of the monitors on your desk.
- Scroll down to the “Multiple displays” dropdown menu and select “Extend these displays.” This will create one giant, seamless desktop across both screens.
- Make sure you select your main monitor and check the box that says “Make this my main display.” This is where your taskbar and icons will primarily live.
On macOS:
- Go to System Settings > Displays.
- Your Mac will show you the arrangement of your displays. You can drag the blue boxes to match their real-world position.
- The monitor with the white bar at the top is your main display. You can drag this white bar to the other monitor to change which one is primary.
- Ensure that “Use as” is set to “Extended Display” and not “Mirror.”
Pro-Tips for a Powerful Workflow
- Positioning: Place your main monitor directly in front of you, with the second monitor off to one side. This is more ergonomic than placing the split directly in the middle, which would require you to constantly have your neck turned.
- Master the Shortcuts: Learn the Windows shortcut Win + Arrow Keys (or use a tool like FancyZones) to quickly “snap” windows to different halves of your screens. On Mac, tools like Magnet or Rectangle can do the same.
- Dedicate Your Screens: Develop a consistent workflow. For example, your main screen is always for your primary task (coding, writing, design), while your secondary screen is always for communication (Slack, email) and reference materials.
A dual monitor setup is an investment that pays for itself almost immediately in increased productivity and reduced frustration. Once you experience the freedom of two screens, you’ll wonder how you ever worked with just one.